With uses spanning from the practical to the creative, wire is an incredibly handy material made for many different applications. Despite its apparent complexity, tying a knot in wire is something anyone can do with just a bit of practice. Once mastered, knot-tying can be employed in several ways, such as creating loops in wiring, securing bundles of cables together, and achieving attractive jewelry designs.
When it comes to tying knots in wire, your choice of knot should be based on its intended use. Here’s a rundown of some of the most popular knots, along with instructions for creating them.
Easy Overhand Loop
With a couple of easy steps, you can tie up the Simple Overhand Knot, a rudimentary fastening perfect for forming a loop in the tail of wire. Begin by looping the material, then take the tag end and pass it through the first curve you created. To finish off the knot, just give it a tug to snug it down and double-check it is holding tight.
Knotting It Twice: The Double Overhand.
To tie a Double Overhand Knot, a two-loop chain needs to be created in the wire before the end of the wire is passed through. This is similar to the Simple Overhand Knot; however, two loops must be formed first. To complete the knot, pull firmly on the free end to tightly secure it in place and prevent any coming undone.
A Splendid Sailors Binding – The Figure Eight Knot
Constructing a Figure Eight Knot begins with forming a loop in a single wire. Then, take the end of the strand and pass it through the loop. To complete the knot, twist the wire around itself and run the end of the wire back through the original loop. Finally, give it a taut tug to ensure secure fastening. This knot is one of the strongest ways to connect multiple wires together.
Tying two ends of wire together is a breeze thanks to the immensely useful Square Knot. The process is quite straightforward: make a loop in each wire, pass one end of one through the loop of the other, and then firmly tug on both sides to secure it.
For a loop that’s adjustable with ease, look no further than the Slip Knot. This variant of the Simple Overhand Knot all starts with creating a loop in the wire, then passing the end through it and tightening it up until a small loop appears at its end. Now you can quickly adjust the size of the knot to fit whatever object you need to attach it to.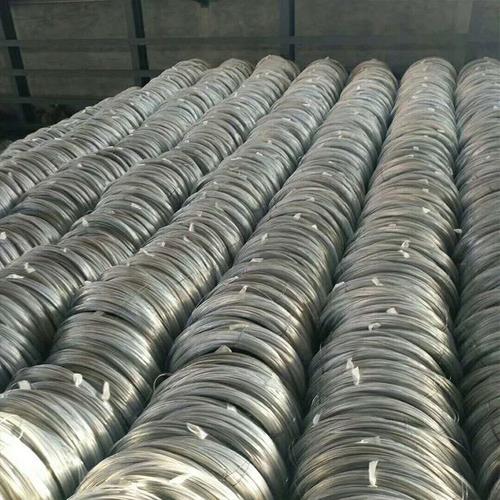
To secure wires together, the Noose Knot bears resemblance to the Simple Overhand Knot. Begin by twisting a loop into the wire and afterwards passing the end through this loop on two occasions. Tighten the wire until the knot is fixed, leaving a tiny loop at its end. This loop affords flexibility to change the knot’s size, helping with the attachment of other objects.
To securely bind a bundle of wires, the Half Hitch knot is a reliable approach. Begin by looping the wire over itself and threading the end double through the circle you have created. Giving a tug to fix it in place, repeat this step for each wire in the bunch.
Gaining the knowledge to form a secure knot with wire arouses countless possibilities, from stabilizing loops in an electric current or tying multiple flexible strands together, to assembling ingenious jewelry pieces. Fortunately, it’s an achievable craft that only requires some practice. Once you’ve fine-tuned your finesse with wiring, you’ll be skilled in creating the perfect knot!
Knowing how to tie a knot in wire can be mighty helpful, and it’s especially beneficial for creative projects like jewelry-making. Although it may seem like a tricky job, knot-tying with wire is easily achievable with a few straightforward measures. From simple loops to more elaborate knots, it’s a valuable skill to master.
To craft a knot in your chosen material, you will require two pliers – flat nose and round nose – and a lengthy piece of wire or string. You might want to use sterling silver, copper or other strong material that can remain strong after withstanding the knottiness of the task. Once you have the components, make sure the wire is long enough to tie up neatly and robust enough to keep the knot intact.
Start by Spiraling Out
With the flat nose pliers, you’ll need to produce a loop in the wire. Grasp the cable with the pliers and turn the thread around the grips until a loop is formed. Remember to make sure that it’s tight and firm.
Creating a Bend: Step Two
Grasp the wire with your round nose pliers and twist it around the tool until it forms a bend. This simple action will give you a curved section of wire with a loop, which will be essential in forming the knot.
Knot Your Way Forward: Step Three.
After fashioning the wire into a loop and a bight, you can tie a knot. Drape the loop over the bight and guide it through the center. Upon tugging firmly on the loop, your knot shall be formed.
Fasten the Bond: Step Four
Once the knot is formed, clamp it in place with a pair of pliers for extra security. This guarantees the knot will remain intact and won’t unravel.
Essential Strategies for Success
Crafting a knot with wire necessitates that you employ the correct equipment and proceed with cauton. When utilizing pliers, confirm they are specifically suited to the thickness of the wire being employed. If you opt to use string, select a type that can furnish long-lasting resilience. In addition, ascertaining that the wire is firmly secured necessitates that it is tugged tightly when tying the knot.
From making works of art to creating unique jewellery, a skillful knot-tying technique with wire can prove useful in many endeavours. While it may seem intimidating at first, even novices with the right tools can easily learn how to tie a knot in wire just through a few easy steps. Once you have perfected this skill, your creative horizons will be opened to myriad opportunities.
Related Product
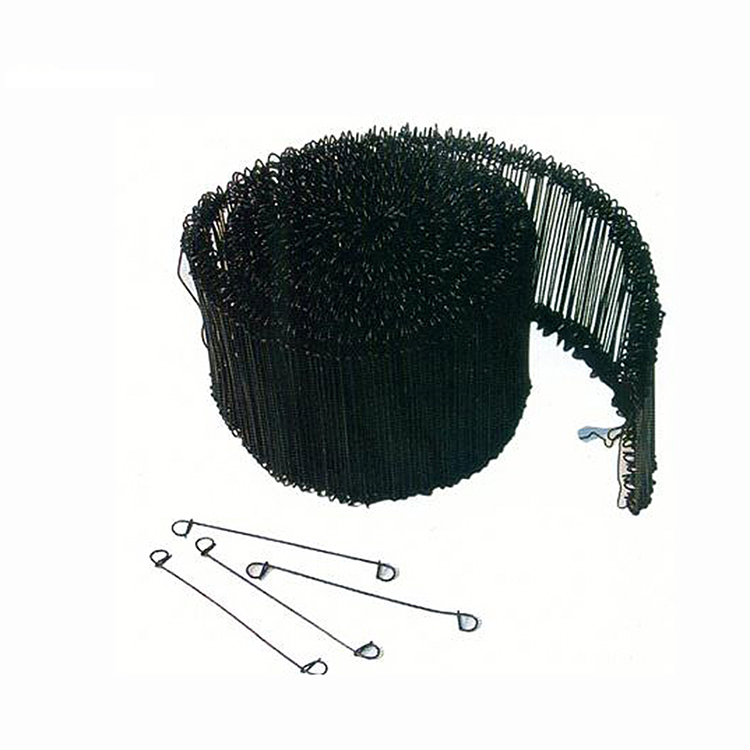
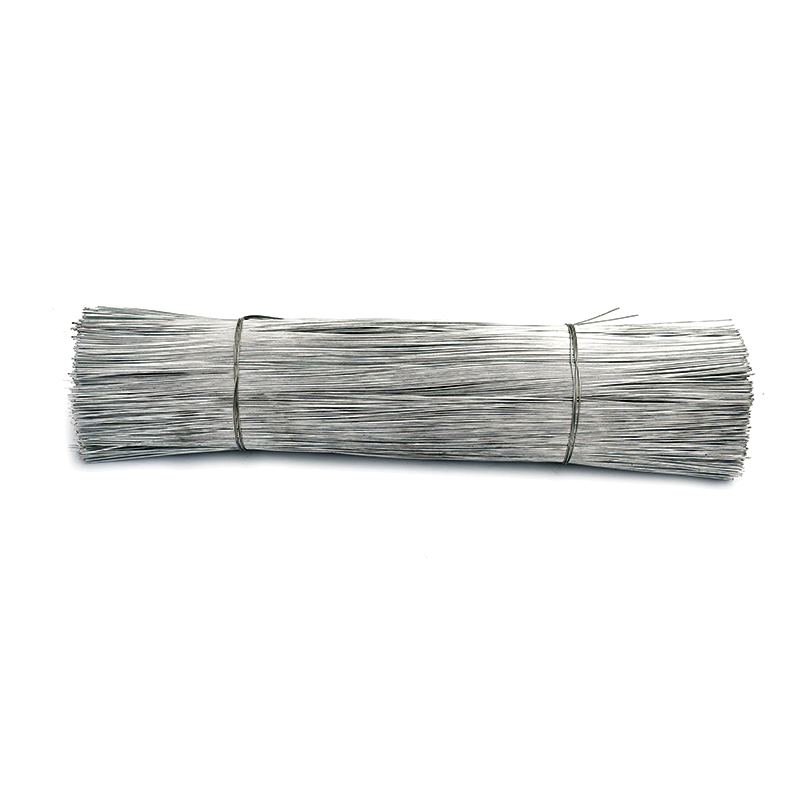
Double Loop Tie Wire
Double loop tie wire material Product Information: Wire diam. 0.5mm—2.0mm Finishes Black Annealed. Galvanized Annealed, Coppered, PVC coated, Stainless steel Wire gauge BWG6 […]
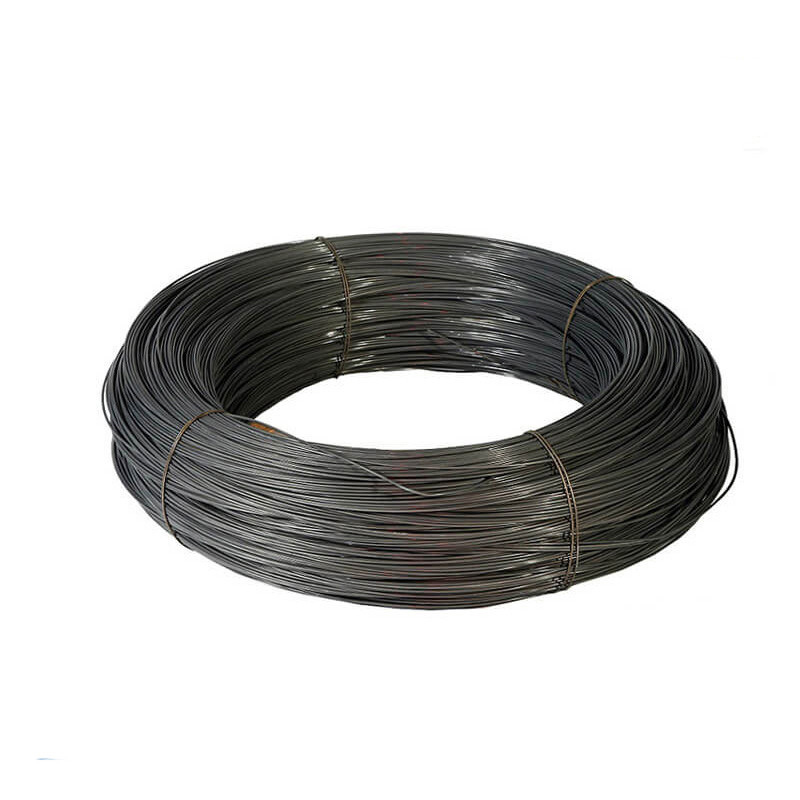
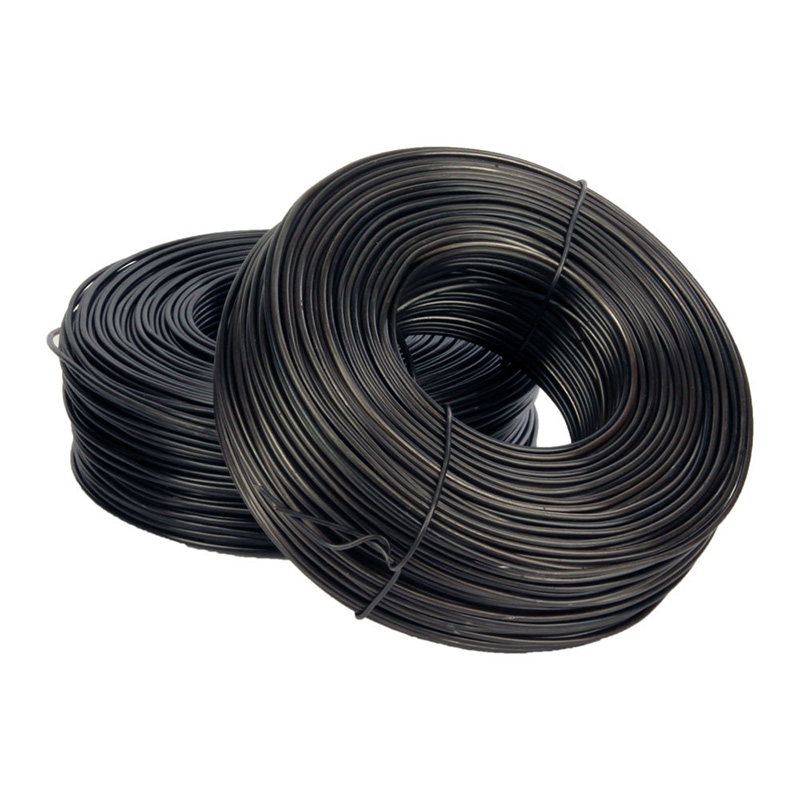
Black Annealed Wire
Product Description: Product name Black Annealed Wire MOQ: No Material Q195,Q235 Delivery time: 20days after payment Surface annealed or as your request Payment terms: T/T,L/C We […]
Tie Wire
Production Process of rebar tie wire : Steel rod coil — Wire Drawing — Wire Annealing–Rust Removing–Acid Washing– Boiling– Drying– Zinc Feeding– Wire Coiling. Wires Type 1.Galvaniz […]
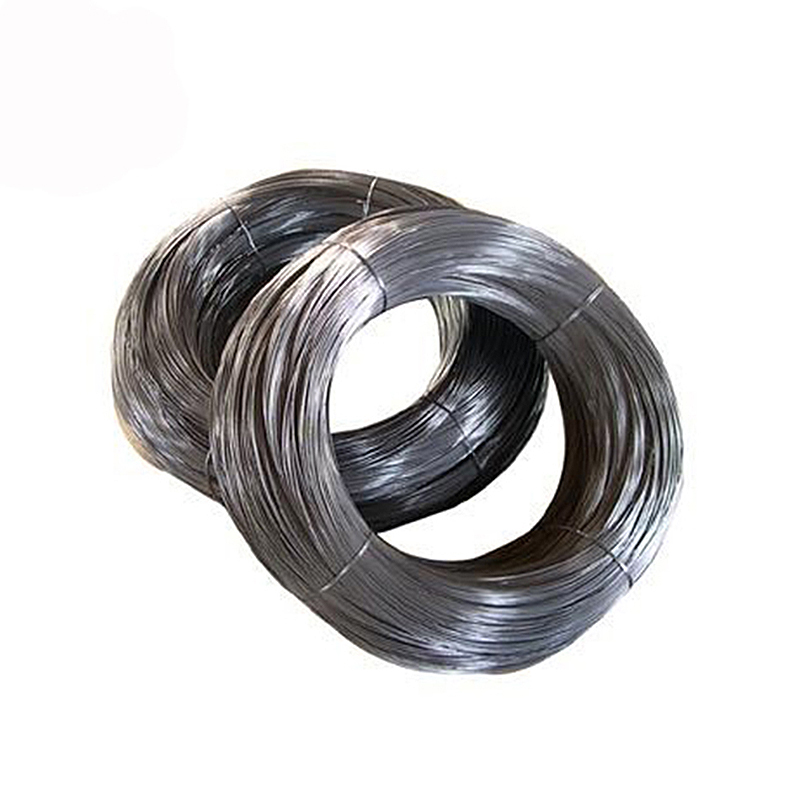
Galvanized Wire
Product information: Product Name Galvanized Wire Package 5kgs/roll, pp film inside and hassian cloth outside or pp woven bag outside 25kgs/roll, pp film inside and hassian […]
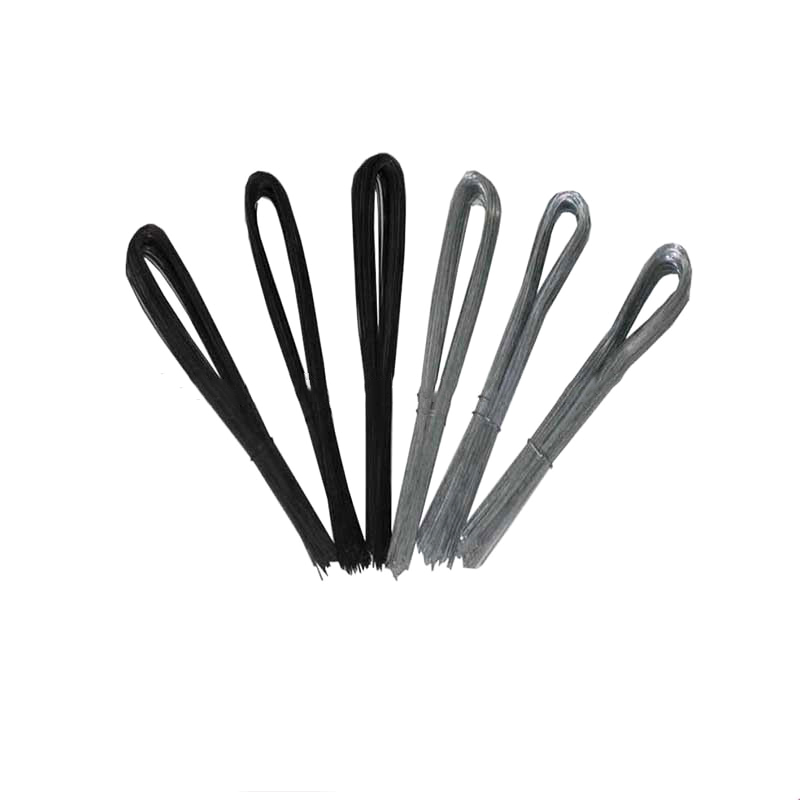
U Type Wire
Product information: Product Name Scaffolding Packing Galvanized Tie Wire Cuttings U Type Binding Wire Material Electro galvanized,hot dipped galvanized,black annealed,PVC coated W […]
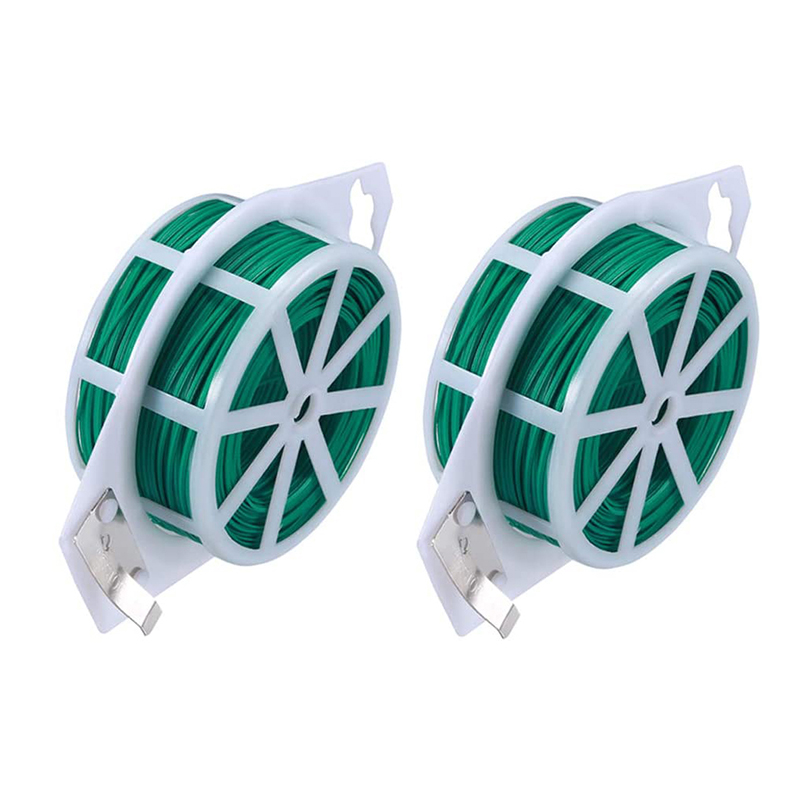
Garden Wire
Product information: The garden shingling is made of pvc plastic and high-quality galvanized iron wire, which is 3 to 4 times faster than any material, and the buckle is loose, the […]
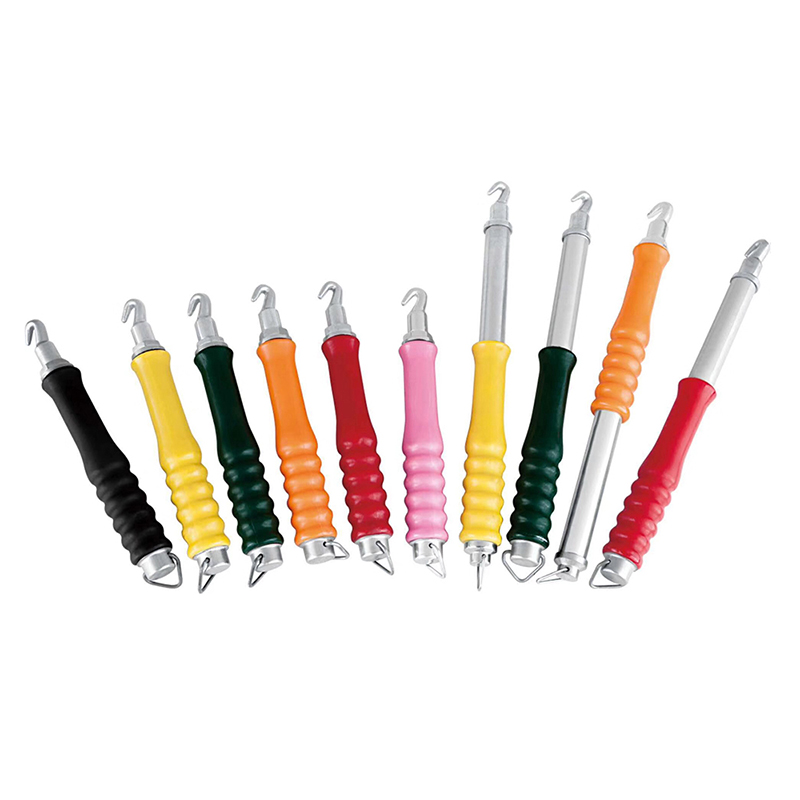
Twister Tool
Handle Twister tool,plastic handle: Weight: 0.4kg Color: Black, blue,yellow ,red etc Material: Carbon Steel Plastic Handle Wire Tie / Tying Hook Tool Twister Wooden Handle […]
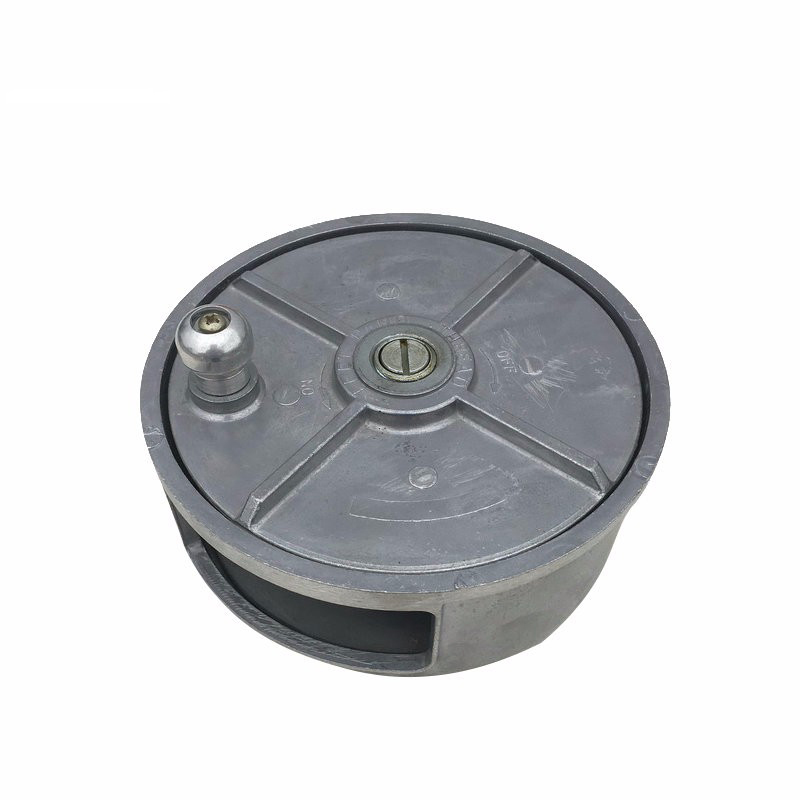
Reel Wire Tool
Product information: Specification of Aluminum Tie Wire Reel Material Plastic & Aluminum Weight 1.95LBS Application Binding Wire MOQ 1000pcs Sample Free Package 5PCS/CARTON &nb […]
Cutting Wire
Product Description: Product Name Cutting Wire Zinc Coating 30-70g Place of Origin Chinese mainland Tensile Strength 33-50kg/mm2 Material Electro galvanizedHot dipped galvan […]
Post time: 2023-08-05
