Looking to add some festive splendor? Consider crafting a stunning floral bow with wired ribbon! It’s an easy procedure that anyone can do to add a touch of elegance to a special event, as a present-topping, or to dress up their home. All you need is the right supplies and a few simple instructions. Before you know it, you’ll have created a lovely bow that’s sure to enhance any dcor.
To craft a tasteful and artful bow from wired ribbon, you’ll need to collect some supplies. Specifically, you will require a piece of wired ribbon, a pair of sharp scissors, a pencil or dowel rod, and florist wire. When picking out the ribbon, be sure to select one wider than your finished bow – for example, if the bow will measure 4 inches once it is complete, select a ribbon that is 6 inches or more in width. As for the scissors, make sure they are up to the task and can get through the ribbon smoothly without snagging or unraveling the edges. Having procured all necessary materials, you are ready to begin creating!
Crafting a bow with wired ribbon necessitates a precise measurement of the ribbon. Estimate the final width of the bow you wish to make and cut two ribbons that are double the length. For instance, aspiring for a 4-inch bow demands an 8-inch cut of both ribbons. Once that has been done, utilize either a pencil or dowel to craft symmetrical loops at both ends. The loops should correspond precisely to the expected width of the finished bow.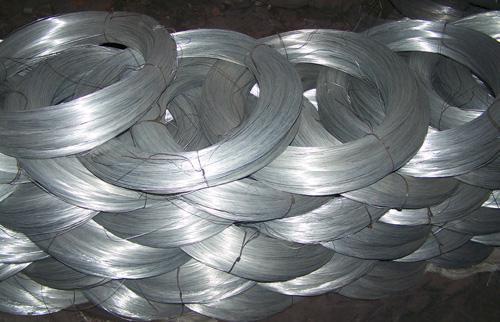
Linking the loops? No problem! Once they’re ready to go, take your florist wire and snugly draw it around the bundle. Twist the wire around, secure it tightly, and make a knot to guarantee that the bow will not unravel.
After looping the wired ribbon for your floral bow, the next step is to put it together. Take one section of ribbon and carefully fold it in half, then twist the wire around the centre of the loop and secure with another loop. Repeat this process for the second piece of ribbon; when finished, you will have a basic bow shape.
Completing your wired ribbon floral bow requires you to fluff and shape it. To begin, pull the loops outward to your desired size and shape. Personnel aesthetics can be attained through a few more strategic loops and trimming away any extra ribbon for a tidier appeal. Finally, cut with the scissors if necessary – to ensure a spectacular finishing look.
Crafting a stunning floral bow out of wired ribbon is a remarkably simple process, offering the perfect way to spruce up any display. Once the exquisite gift ornament is finished, you can adorn it to presents, wreaths, centerpieces and beyond for a super stylish impact.
For an exquisite flourish, tie up your gifts, flower arrangements, and other decorative pieces with a wired ribbon bow. This deceptively-simple art can be easily mastered in a few easy steps; even the most amateur of crafters will be able to produce stunning results. Expertly-crafted bow with wired ribbon will ooze sophistication and provide your presents with a polished finish.
To start off, it’s essential to gather the necessary supplies. You’ll require a sturdy wired ribbon, a pair of scissors, as well as floral wire. Quality is key here – opt for a ribbon that showcases either a pattern or texture to give your bow an added layer of visual flair. The size of the ribbon relies on the type of bow you’d like to create. If you’re just starting out, 1-2 inch ribbon is the ideal choice.
For your bow, you’ll need to craft two identical loops. Start by measuring out the desired length of ribbon and snipping it. For each side of the bow, snip two sections that share an equivalent length. To create the first loop, fold the ribbon in half before intertwining the cut ends. Follow a similar process with the second cut piece of ribbon; folding and twisting until a matching loop is formed.
Now for the fun part! To begin constructing your bow, take one of the loops and wrap it around the floral wire. Give it your best effort and firmly secure it with a few twists. Once that’s done, go ahead and do the same with the other loop. And just like that, you have got your bow base ready!
Now comes the step in creating your bow that’ll really make it stand out — making the tail! Cut a piece of ribbon to double the length of each of the loops you created. Then, take the ribbon’s center and wind it around the floral wire between your two loops. When done, give the wire a few extra twists to ensure the tail’s secure. Just like that, your bow’s finished.
Last but not least, you must make your bow look as fabulous as it can be. Gently stretch out the loops and the tail to give the bow a more defined shape. Then tease out these parts of the bow so they appear fluffy and even on both sides.
When the shape of the bow is complete, it is time to secure it. Cut off the extra floral wire, leaving a few inches to work with. Take this bit and encircle the center of the bow, tying it off securely with a simple knot. Then snip off any remaining parts of the wire and your bow is now ready for use.
When you want to add a refined flair to your projects, tying a bow with wired ribbon is an ideal solution. Even novice crafters can achieve stunning results with just a few straightforward steps. As your ability increases, you can explore new sizes, colors, and textures in order to craft the ideal bow for any occasion.
Related Product
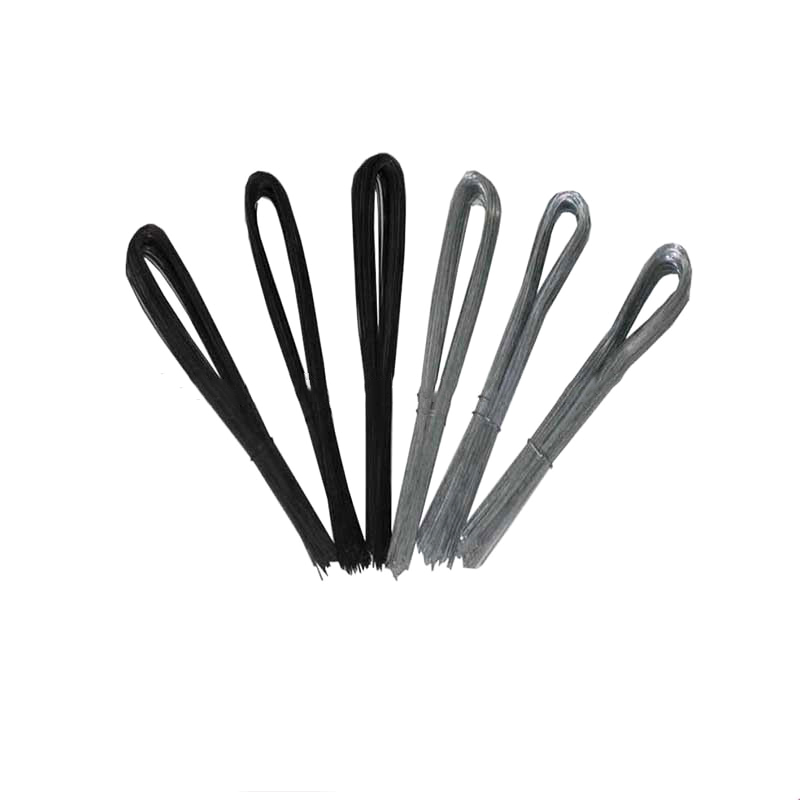
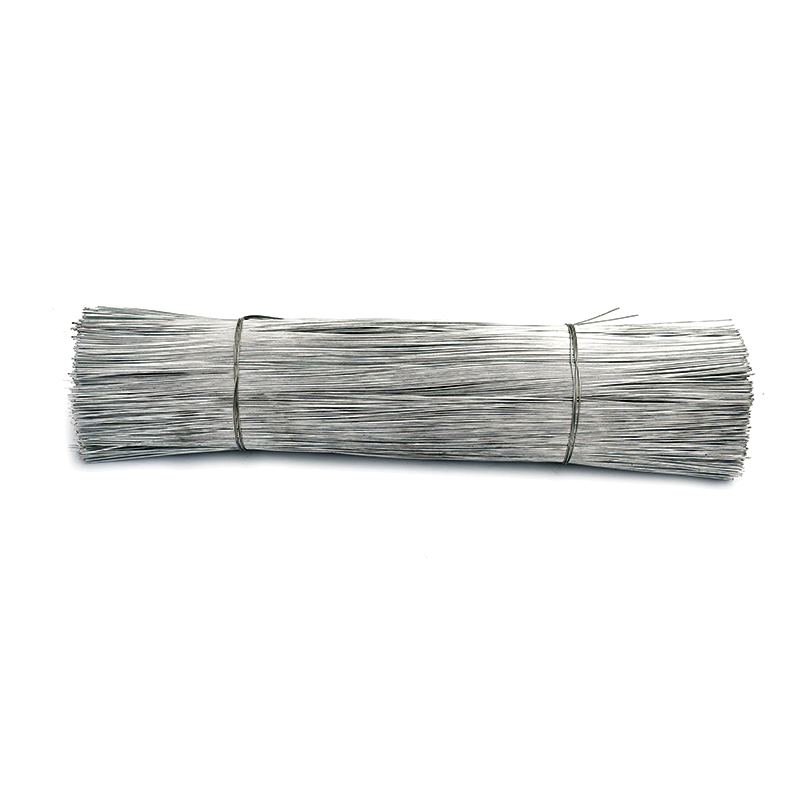
Double Loop Tie Wire
Double loop tie wire material Product Information: Wire diam. 0.5mm—2.0mm Finishes Black Annealed. Galvanized Annealed, Coppered, PVC coated, Stainless steel Wire gauge BWG6 […]
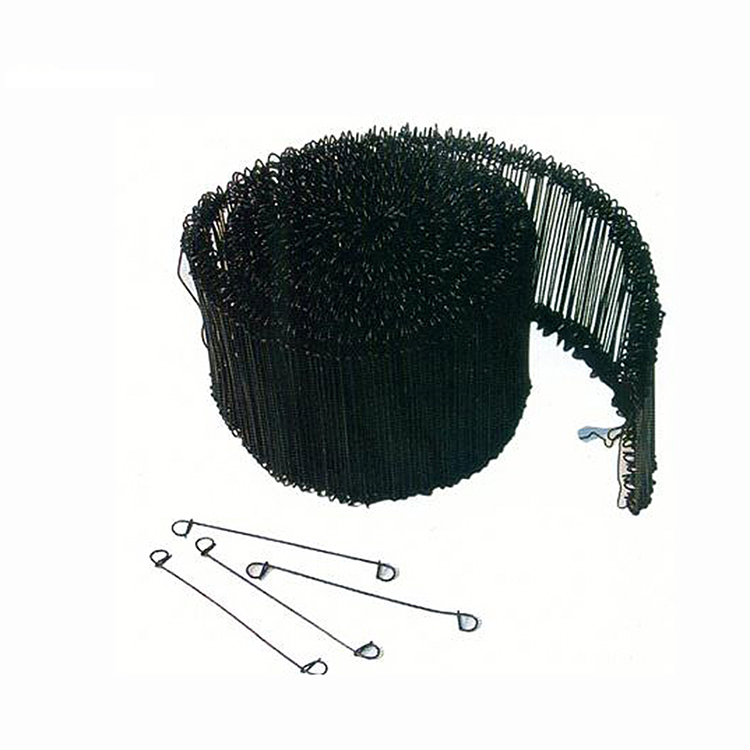
U Type Wire
Product information: Product Name Scaffolding Packing Galvanized Tie Wire Cuttings U Type Binding Wire Material Electro galvanized,hot dipped galvanized,black annealed,PVC coated W […]
Galvanized Wire
Product information: Product Name Galvanized Wire Package 5kgs/roll, pp film inside and hassian cloth outside or pp woven bag outside 25kgs/roll, pp film inside and hassian […]
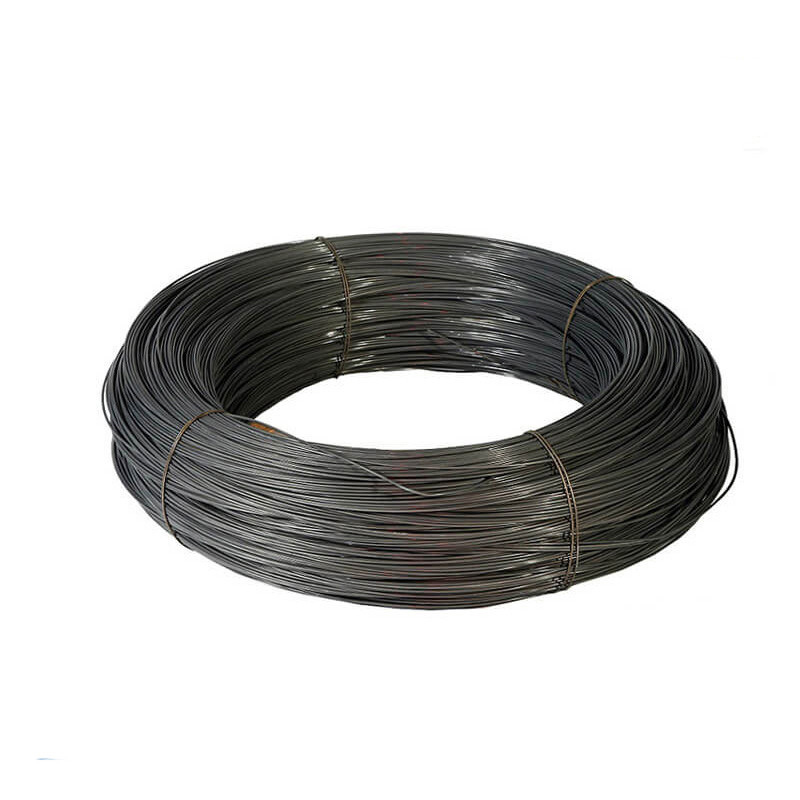
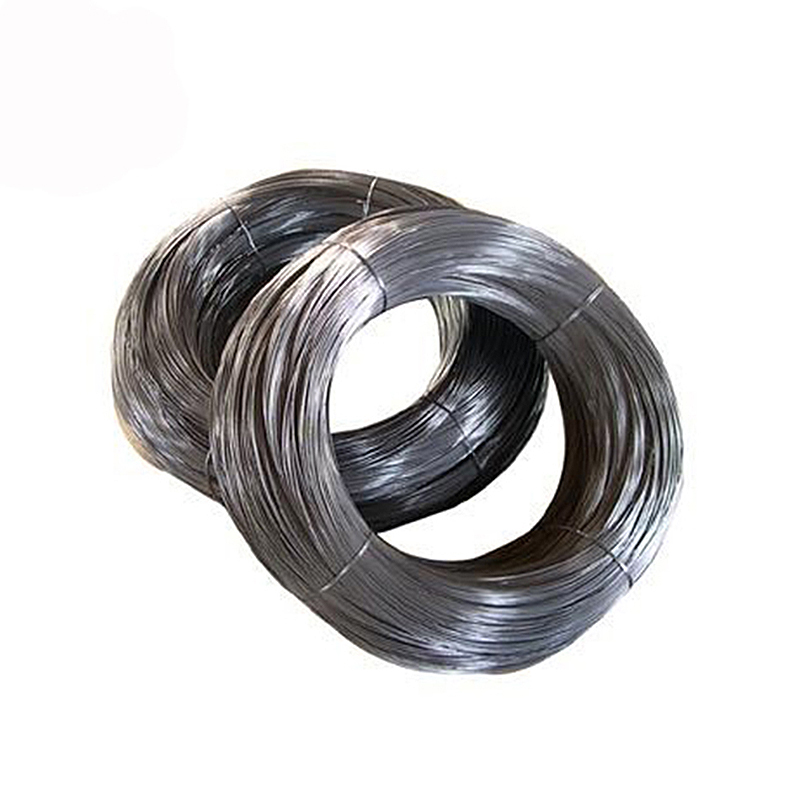
Black Annealed Wire
Product Description: Product name Black Annealed Wire MOQ: No Material Q195,Q235 Delivery time: 20days after payment Surface annealed or as your request Payment terms: T/T,L/C We […]
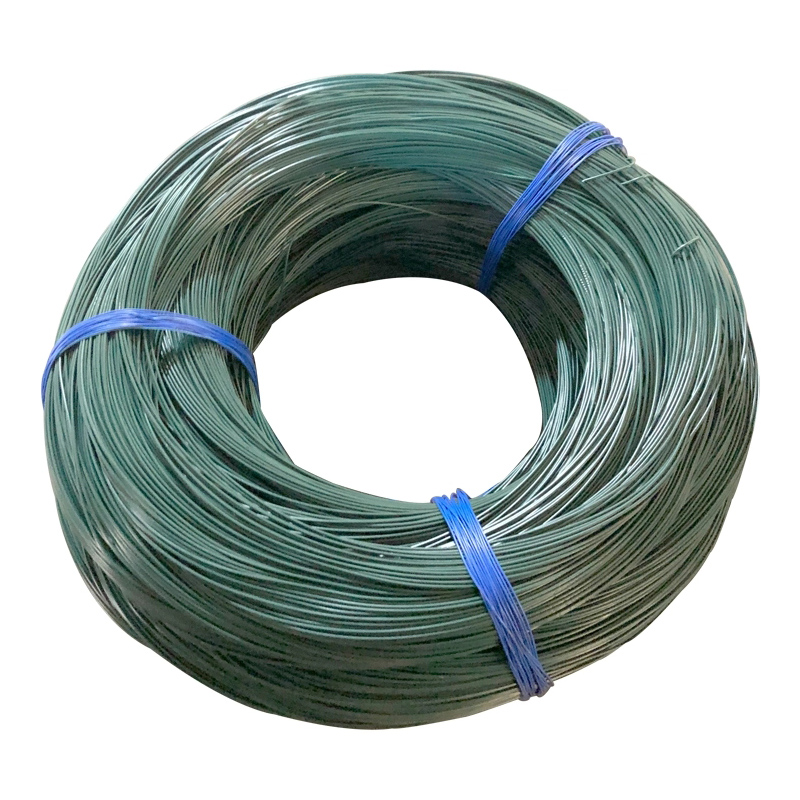
PVC Coated Wire
PVC coated wire, also called plastic coated wire, after high temperature dissolution cooled solid PVC particles uniformly wrapped in high-quality black iron wire and galvanized wi […]
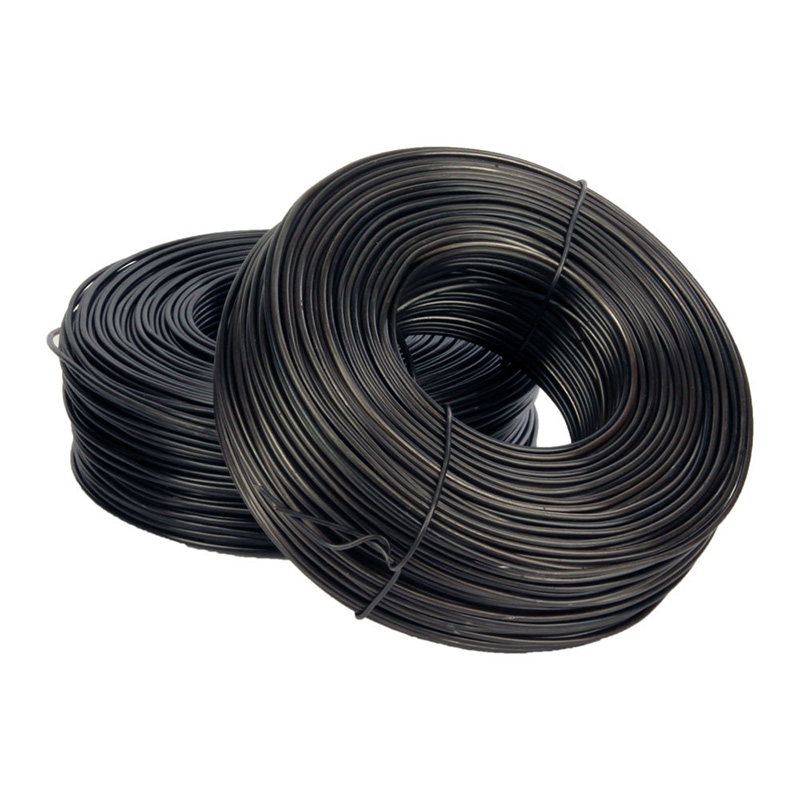
Tie Wire
Production Process of rebar tie wire : Steel rod coil — Wire Drawing — Wire Annealing–Rust Removing–Acid Washing– Boiling– Drying– Zinc Feeding– Wire Coiling. Wires Type 1.Galvaniz […]
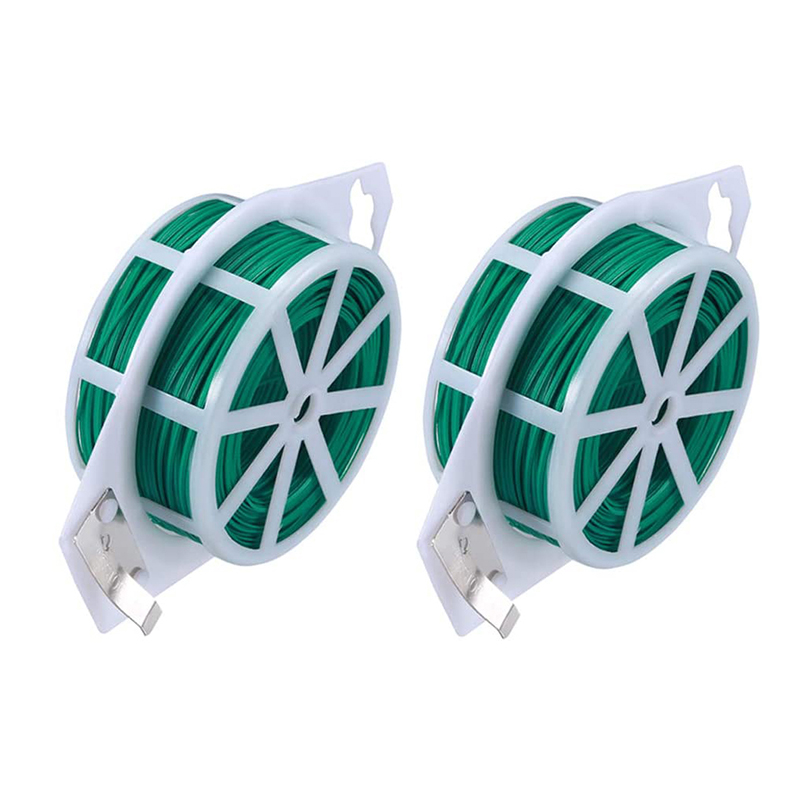
Garden Wire
Product information: The garden shingling is made of pvc plastic and high-quality galvanized iron wire, which is 3 to 4 times faster than any material, and the buckle is loose, the […]
Cutting Wire
Product Description: Product Name Cutting Wire Zinc Coating 30-70g Place of Origin Chinese mainland Tensile Strength 33-50kg/mm2 Material Electro galvanizedHot dipped galvan […]
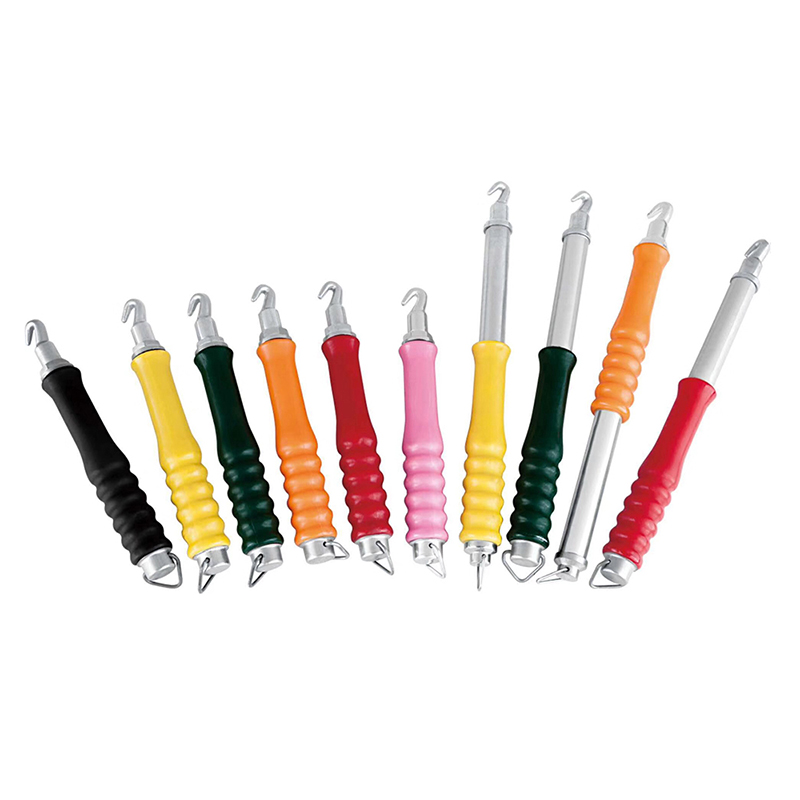
Twister Tool
Handle Twister tool,plastic handle: Weight: 0.4kg Color: Black, blue,yellow ,red etc Material: Carbon Steel Plastic Handle Wire Tie / Tying Hook Tool Twister Wooden Handle […]
Post time: 2023-07-31
