Make your jewellery pieces truly special with a decorative knot! Tying a knot with beading wire is an easy method for keeping your charms and beads securely attached. Read on for dazzling tips and tricks on mastering this popular technique.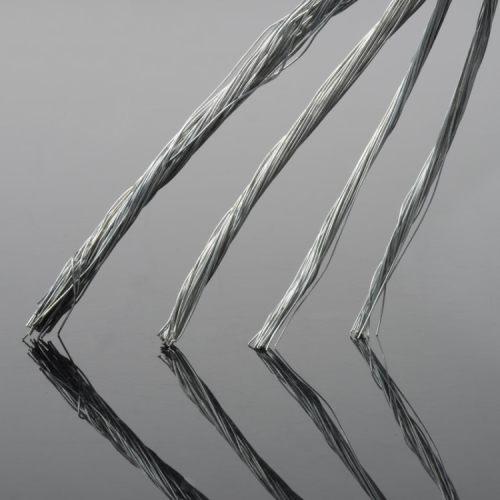
Before delving into your beading adventure, make sure to have all the supplies you need! You will need beading wire, which is a tremendous energy saver: it is both flexible and durable, usually made of nylon or stainless steel, and it’s suitable for every project due to its wide range of thickness options. And of course, no beading is complete without scissors and needle nose pliers.
Commencing your jewelry making project, take a length of beading wire that is triple the size of the charm or bead that you want to attach. This is essential for ensuring you have enough wire to create a firm knot.
Next in the beading process, you’ll want to insert the beading wire through the hole of a chosen bead or charm, making sure that it fits snugly in the center. This is essential for a secure knot that won’t budge later on.
Now you’re ready to tie up the ends of the wire. Bring the two wire ends across one another so they form a circular loop. Secure the loop in place, and carefully wrap the same end around the other two or three times. Keep that circle intact as you do so.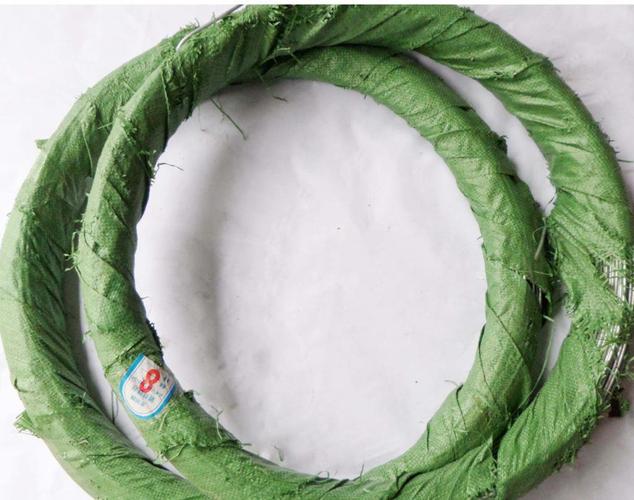
With the wire held tight, carefully secure the knot by tucking the ends into the loop. Ensure that they are tucked away securely so that the knot remains intact.
Once you have completed the knot, you can use a pair of needle nose pliers to tighten and secure it. Doing this will guarantee that it remains in place, and then you can add your bead or charm of choice to your piece of jewelry.
With the help of beading wire, creating your very own pieces of jewelry can be made easy-peasy. With a few essentials and some dedicated practice time, you’ll soon be an ace at the knot-tying technique. Then, your hand-crafted pieces will not only have a beautiful aesthetic appeal, but with the high quality materials used, they will last for years and years to come.
A great technique to put together custom jewelry pieces is to tie a knot with beading wire. It’s a dependable and flexible way to attach everything from beads and components to findings. Though it may seem daunting at first, people of all skill levels can learn the art of knot tying with beading wire easily. Just keep the following helpful hints in mind and you’ll be a professional knot-tier in no time!
Before you start, cut the beading wire to your desired length. Be mindful to add a few extra inches to compensate for any miscalculations. Then, depending on the item you are tying the knot to, either pass it through the bead twice or through the finding only once. This is just in case your original plan does not pan out.
Now it’s the moment to form a connection. With one hand grasping the beading wire, use the other to gently form a loop in the wire. Allow adequate space for the component you wish to attach, then slid the wire’s end through the loop and cinch it snug. This creates a knot that will hold fast.
In order to firm up the knot, take a firm hold of the circular beginning and then tug at the wire’s end with your other hand. This will result in the knot growing in size and being tightened more securely. Ensure that the knot is secure enough so as to remain without becoming undone.
When you are finished, take the penknife or wire-cutters to snip away the excess wire. Make sure that there is sufficient length left; you will need it later to fix the necessary components or findings to the knot. And there you have it—determination and a bit of nipping and tucking has seen the job through!
Making your own jewelry designs just got simpler — learn how to tie a knot with beading wire! This is a practical and versatile technique that is surprisingly straightforward. Just grab the necessary tools and follow these simple steps for a secure end to your jewelry designs.
Related Product
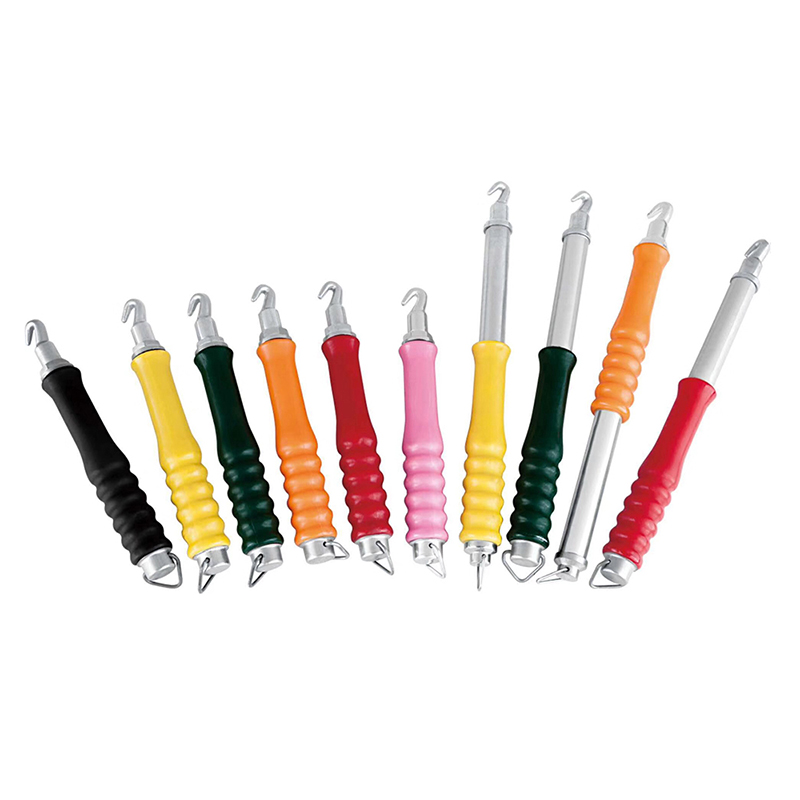
Twister Tool
Handle Twister tool,plastic handle: Weight: 0.4kg Color: Black, blue,yellow ,red etc Material: Carbon Steel Plastic Handle Wire Tie / Tying Hook Tool Twister Wooden Handle […]
Cutting Wire
Product Description: Product Name Cutting Wire Zinc Coating 30-70g Place of Origin Chinese mainland Tensile Strength 33-50kg/mm2 Material Electro galvanizedHot dipped galvan […]
U Type Wire
Product information: Product Name Scaffolding Packing Galvanized Tie Wire Cuttings U Type Binding Wire Material Electro galvanized,hot dipped galvanized,black annealed,PVC coated W […]
PVC Coated Wire
PVC coated wire, also called plastic coated wire, after high temperature dissolution cooled solid PVC particles uniformly wrapped in high-quality black iron wire and galvanized wi […]
Reel Wire Tool
Product information: Specification of Aluminum Tie Wire Reel Material Plastic & Aluminum Weight 1.95LBS Application Binding Wire MOQ 1000pcs Sample Free Package 5PCS/CARTON &nb […]
Double Loop Tie Wire
Double loop tie wire material Product Information: Wire diam. 0.5mm—2.0mm Finishes Black Annealed. Galvanized Annealed, Coppered, PVC coated, Stainless steel Wire gauge BWG6 […]
Tie Wire
Production Process of rebar tie wire : Steel rod coil — Wire Drawing — Wire Annealing–Rust Removing–Acid Washing– Boiling– Drying– Zinc Feeding– Wire Coiling. Wires Type 1.Galvaniz […]
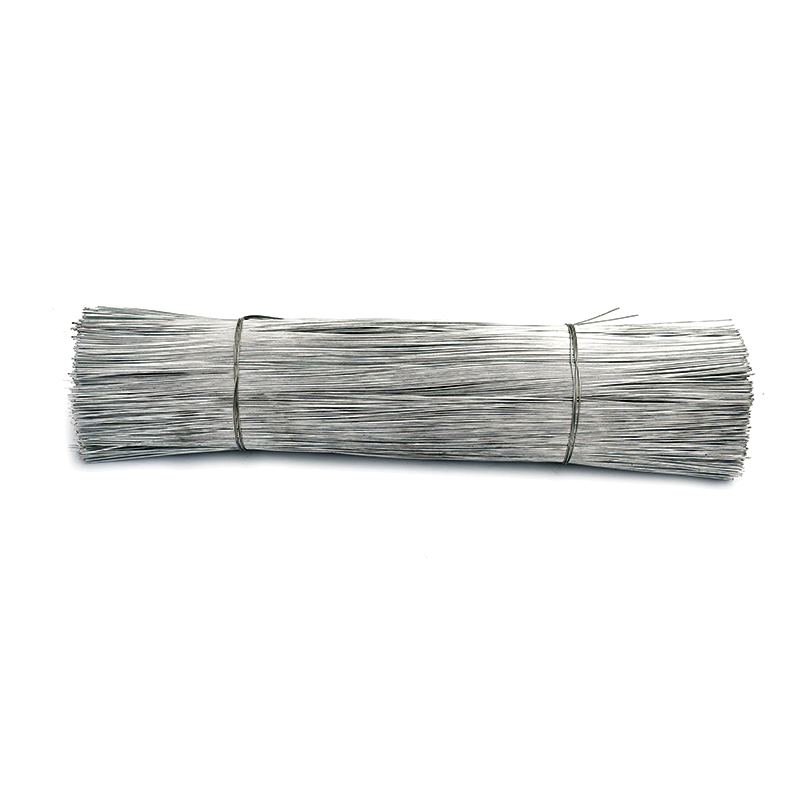
Galvanized Wire
Product information: Product Name Galvanized Wire Package 5kgs/roll, pp film inside and hassian cloth outside or pp woven bag outside 25kgs/roll, pp film inside and hassian […]
Black Annealed Wire
Product Description: Product name Black Annealed Wire MOQ: No Material Q195,Q235 Delivery time: 20days after payment Surface annealed or as your request Payment terms: T/T,L/C We […]
Post time: 2023-07-24
